
There are a lot of printer solutions on the market nowadays. Also the connectivity is excellent by enabling printers with WIFI. However, most printers are expensive
to purchase and maintain. Sometimes one just wants to quickly print a recipe, shopping list or even SMS or contacts from one's phone.
For this purpose I wanted a cheap and simple solution. While browsing the web I happened to find this little printer for just €11,- but it had a printer port that is useless with modern PC's and smart phones. So I made a little hardware hack and internally connected an AVR and a BlueTooth module to the parallel printer port. That plus a little C++ was all it took to enable it to print from any device that has BlueTooth.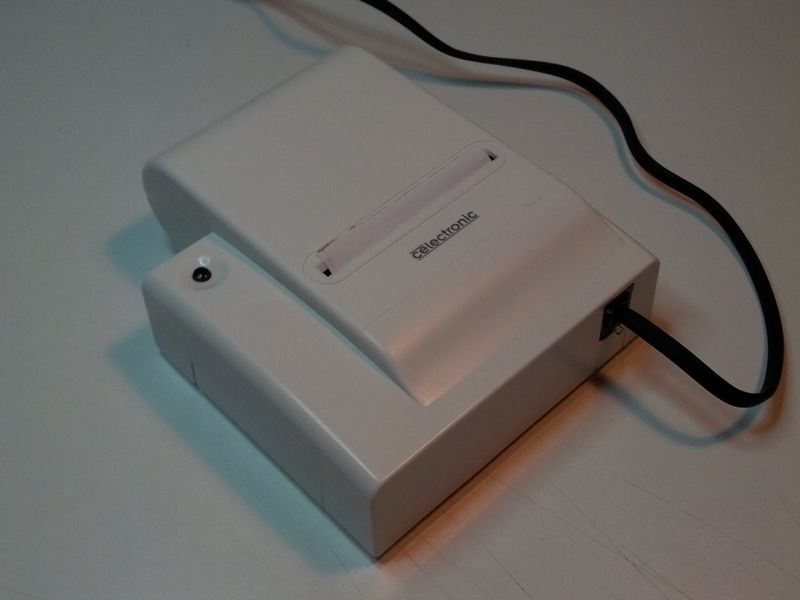 The printer can be set up as a standard Generic/Text-only printer in Windows utilizing the BlueTooth serial port. Smartphone apps can simply print out strings over the
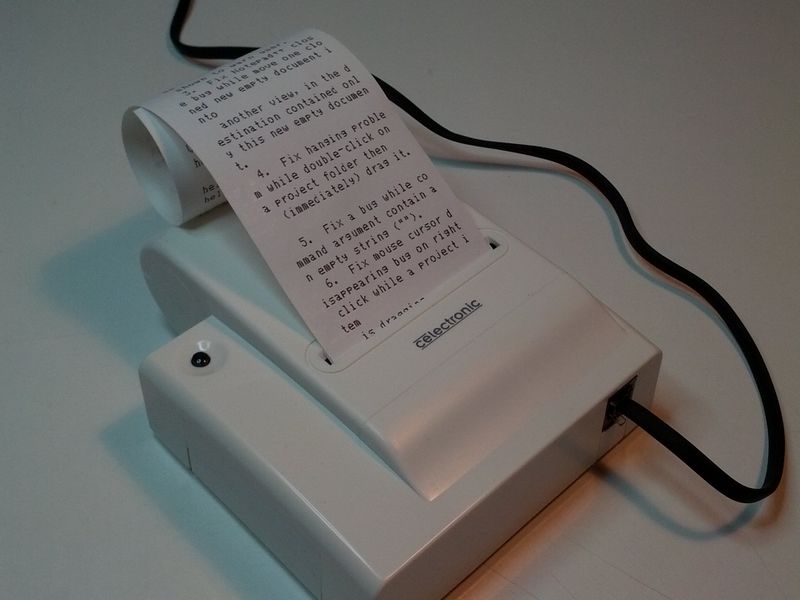
emulated serial port from the Android's BlueTooth device. It prints out neat little thermo paper strips similar to receipts in a supermarket.
The printer can be set up as a standard Generic/Text-only printer in Windows utilizing the BlueTooth serial port. Smartphone apps can simply print out strings over the
emulated serial port from the Android's BlueTooth device. It prints out neat little thermo paper strips similar to receipts in a supermarket.
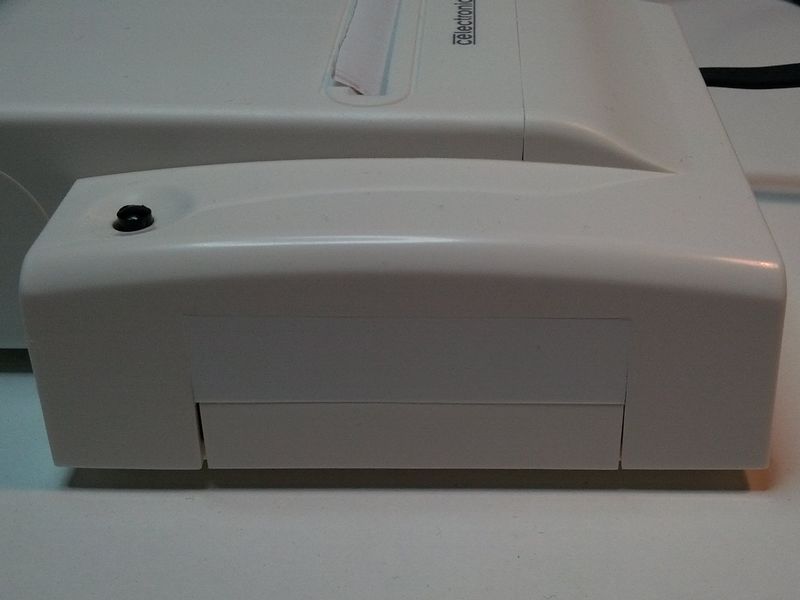
 I simply sealed the SUB-D 25 printer socket gap with a little piece of plastic.
 The circuit was so simple that I just wired it up on a small perfboard. The tiny SPBT2632C2A BlueTooth module was a free sample from
ST.
The circuit was so simple that I just wired it up on a small perfboard. The tiny SPBT2632C2A BlueTooth module was a free sample from
ST.
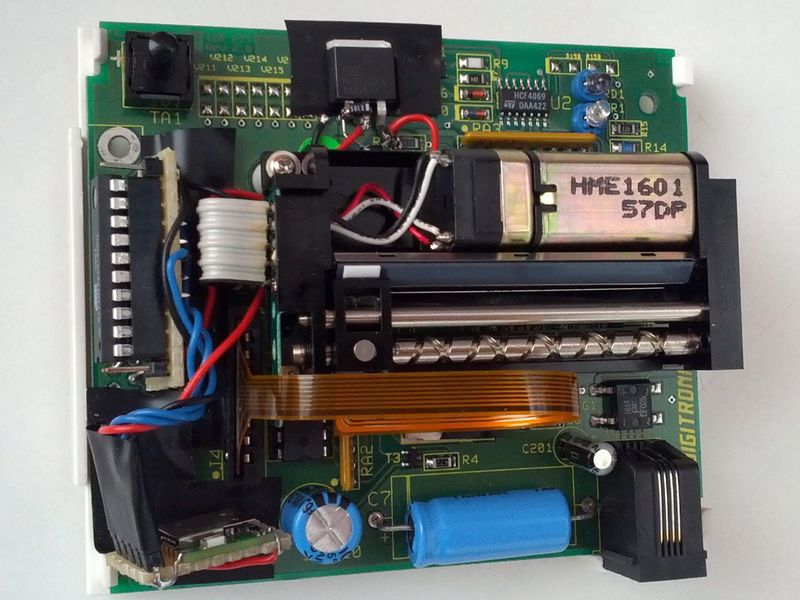
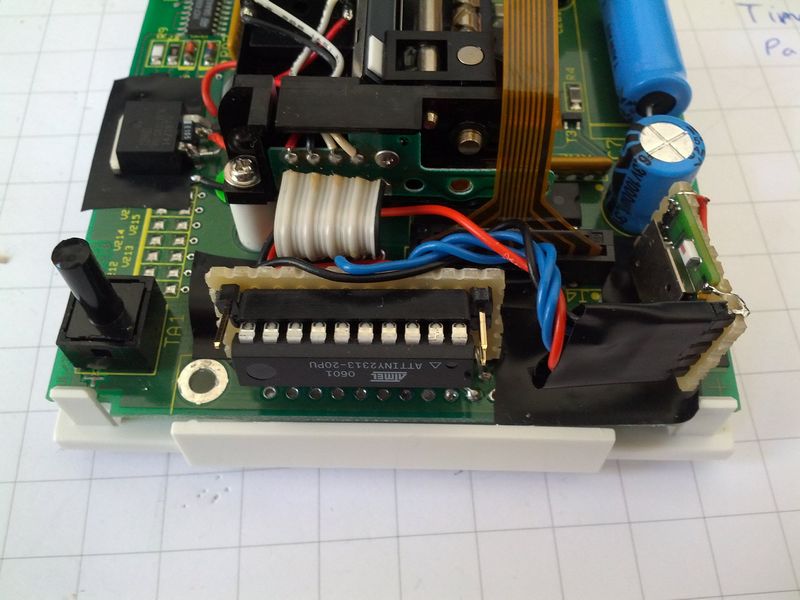 Here the complete gut of the printer can be seen. I managed to identify the CPU as a 87C52 and the actual printer part as MTP201-24B-E. So theoretically it would
be possible to make ones own controller board for the printer (maybe a future project).
Here the complete gut of the printer can be seen. I managed to identify the CPU as a 87C52 and the actual printer part as MTP201-24B-E. So theoretically it would
be possible to make ones own controller board for the printer (maybe a future project).
 There is the pinout inside. I de-soldered the SUB-D and then connected the perfboard directly to the printer mainboard.
 It is advisable to first de-solder the two screw-plates on either side and then carefully push the black plastic off. This exposes all the pins and makes it possible
to simply de-solder all the pins separately.
It is advisable to first de-solder the two screw-plates on either side and then carefully push the black plastic off. This exposes all the pins and makes it possible
to simply de-solder all the pins separately.
For this purpose I wanted a cheap and simple solution. While browsing the web I happened to find this little printer for just €11,- but it had a printer port that is useless with modern PC's and smart phones. So I made a little hardware hack and internally connected an AVR and a BlueTooth module to the parallel printer port. That plus a little C++ was all it took to enable it to print from any device that has BlueTooth.
|
LAST
|
NEXT
|